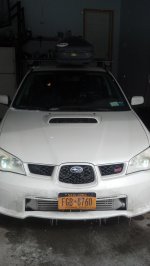
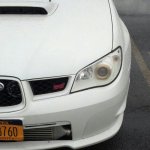
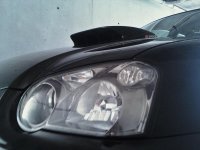
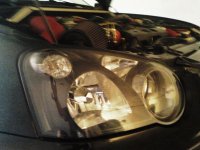
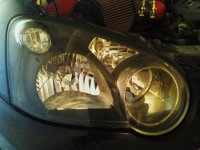
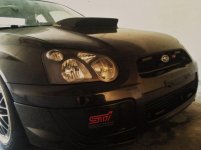
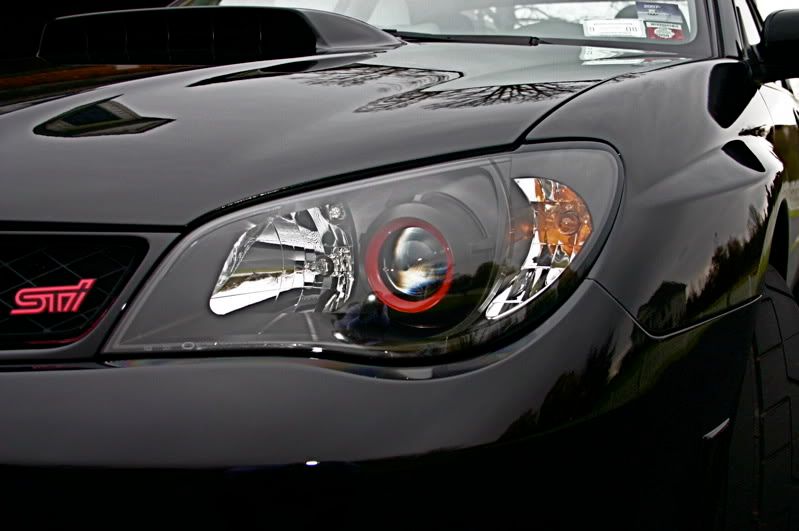
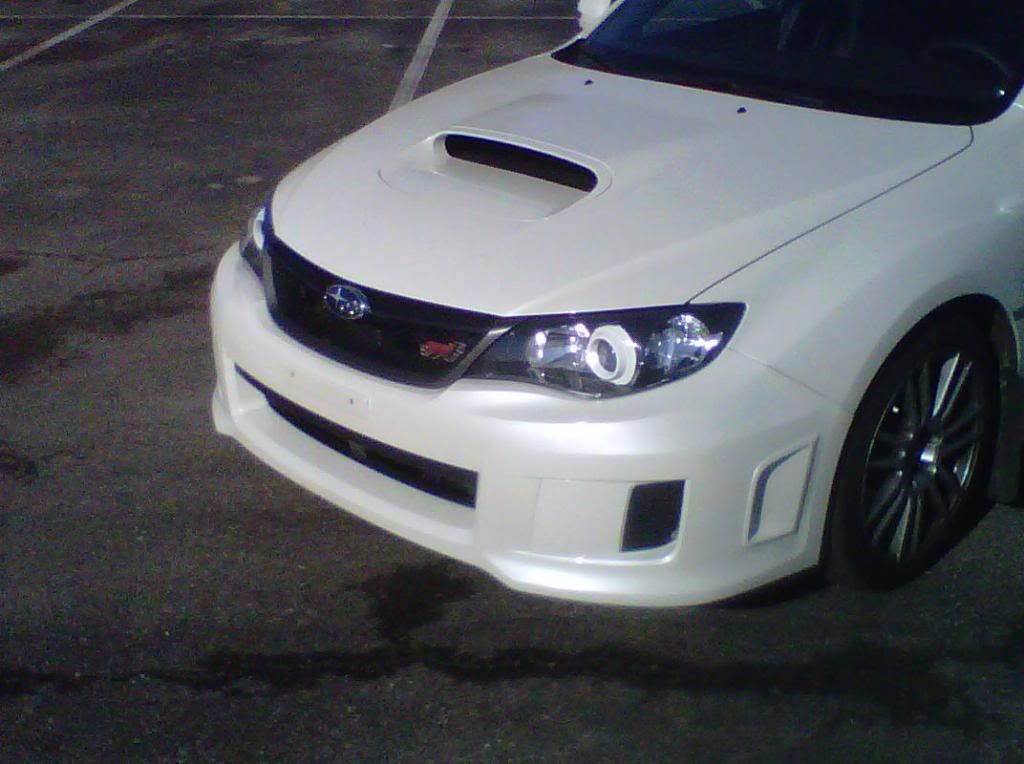
This is my first tutorial, if you see anything that's wrong don't be afraid to mention anything... Also if you have any questions feel free to post or PM me
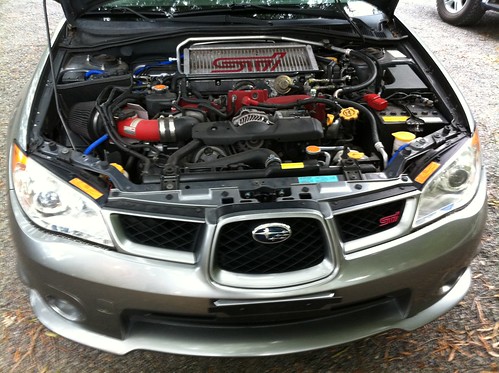
Step 1; Unclip on the small circular bumper clips by the kidneys
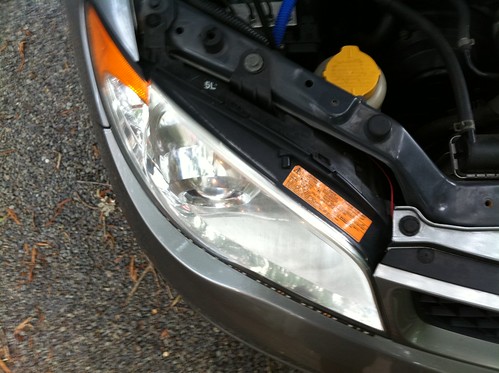
Step 2; Unbolt the screw that's connected to the headlight and the other two plastic bumper clips.
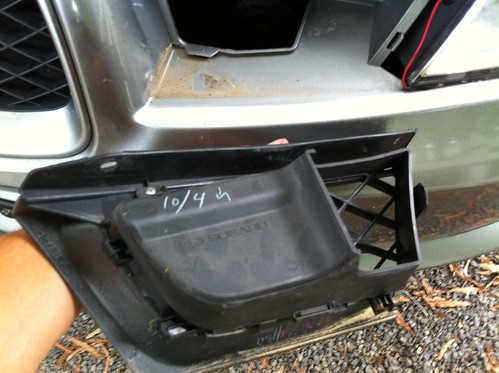
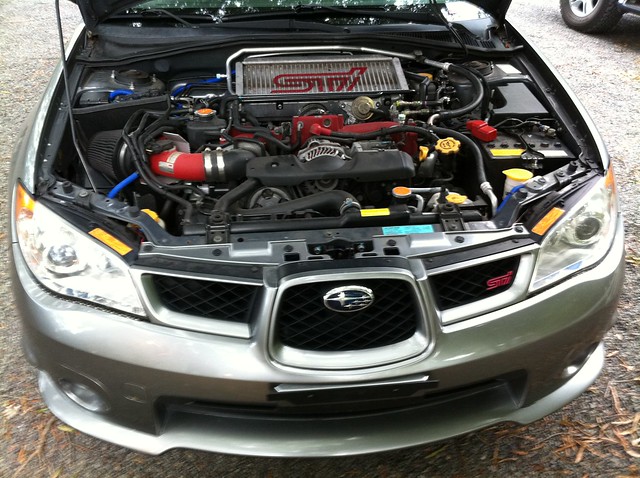
Step 3; Unclip the grille pieces, all three pieces are connected by plastic clips and slide out once the plastic pins from on top are removed (Step 1+2).
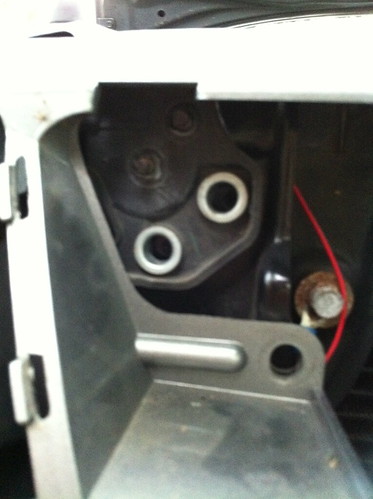
Step 4; After you have the two grille pieces off look inside and find four bolts that you'll be taking off this step.
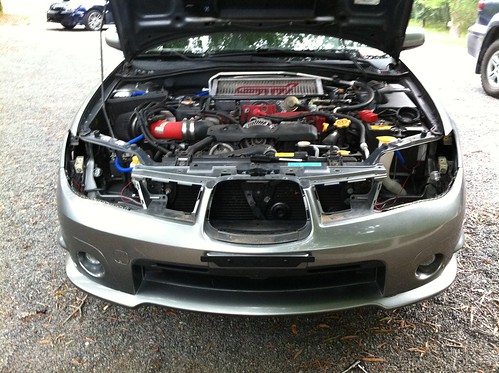
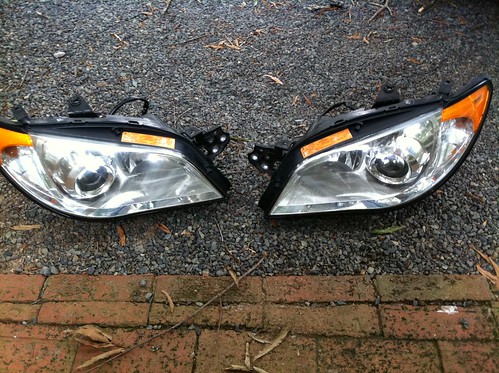
Step 5; This is probably the hardest part, taking out the headlights... I didn't loosen up the bumper and managed to pull them out, it's personal preference. It'll definitely be easier if you do. Disconnect all the wires connecting to the headlight. Carefully pull them out
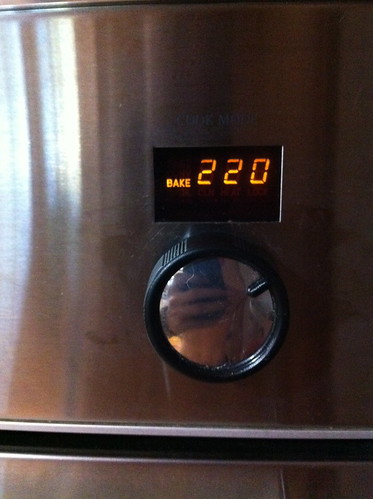
Step 6; Preheat your oven to 220 degrees.
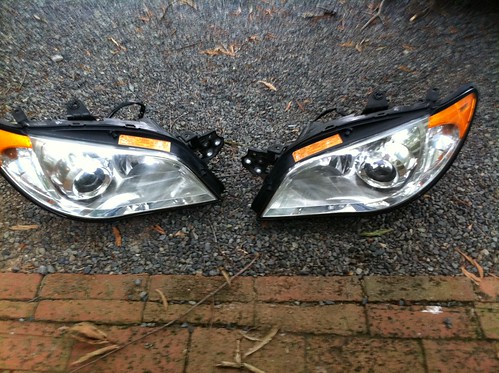
Step 7; Take out the philips screws that connect the headlight pieces together, there's 5 of them (I think) all on the edge.
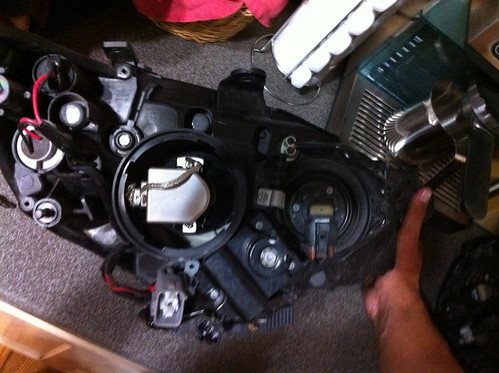
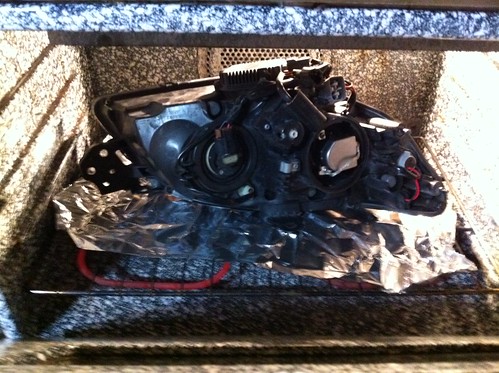
Step 8; Place the headlights in the oven, I used a sheet of tinfoil and places it on that. I always put them in for about 13 minutes, most people do 10-15 minutes, check up on it every once in a while... Also try to unclip the small clips on the edge of the headlight it'll help you out and help you realize when the rubber sealant is hot enough to be opened.
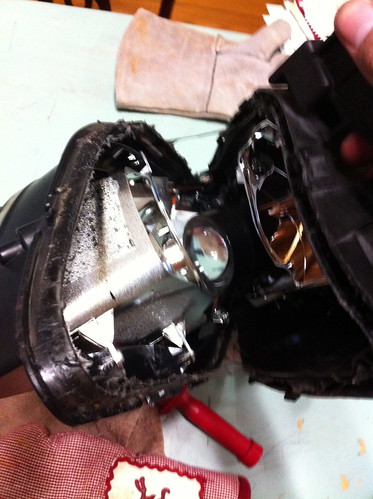
Step 9; Grab your headlight and undo the clips on the edge and pull it apart!
Step 10; Take out the philip screws, put them in the same bowl where you put the other screws for the headlights... You won't confuse them.
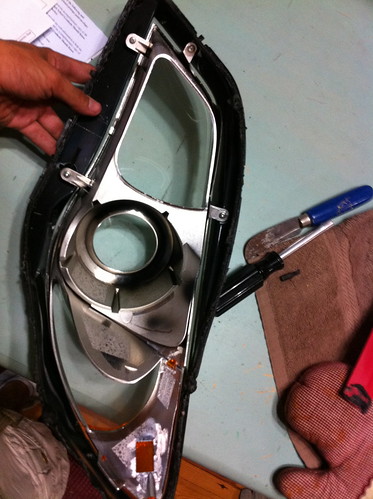
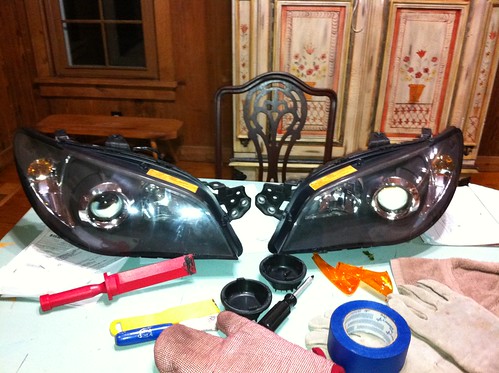
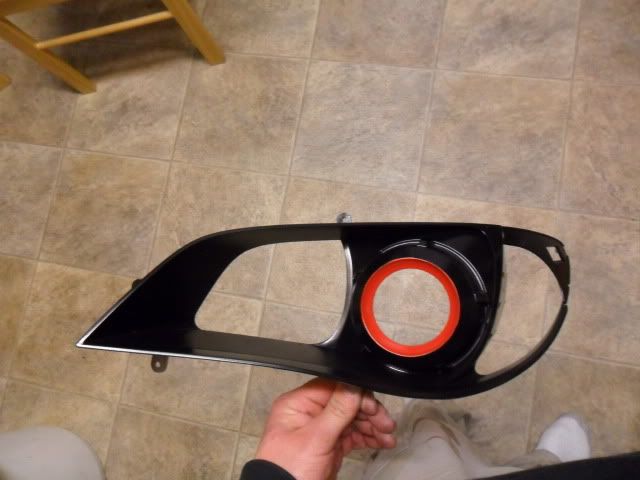
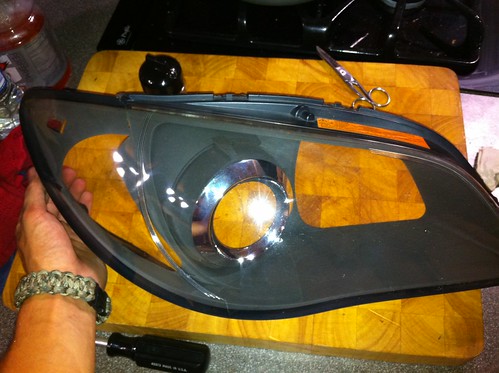
Step 11; Take the chrome piece that you want painted and put painters tape on the chrome ring unless you plan on painting that as well... It's also up to you what you want with the orange reflector piece, I took it out.. (Found that cutting small pieces of tape and matching it up with the ring was the easiest way.)
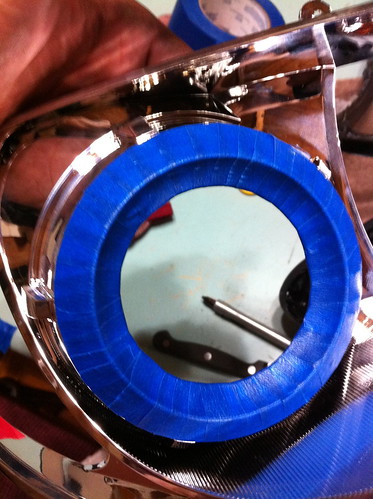
Step 12; Sand the headlight housing down, up to you how fine you want the sand paper to be...
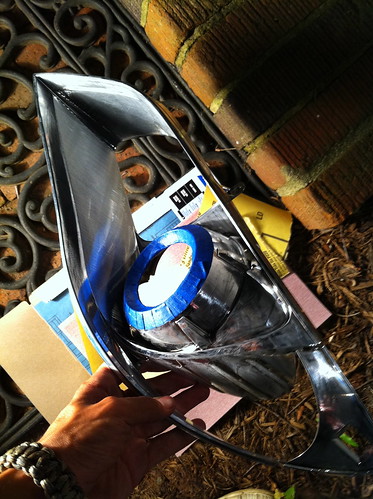
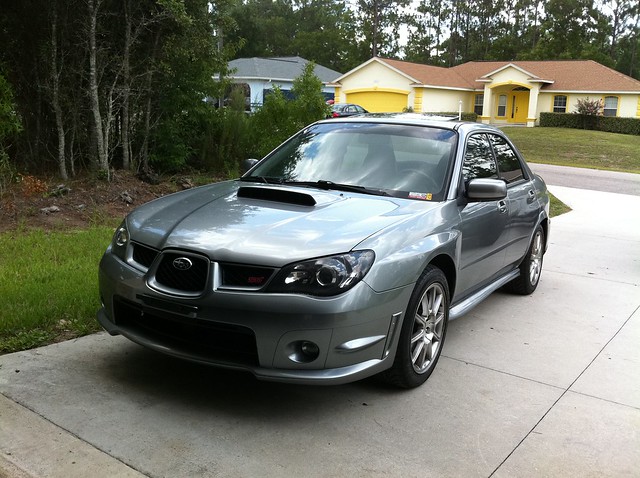
Step 13; Paint! Make sure you distribute the paint evenly, hit it from different angles etc... I did a total of 3 coats and they turned out great IMO.
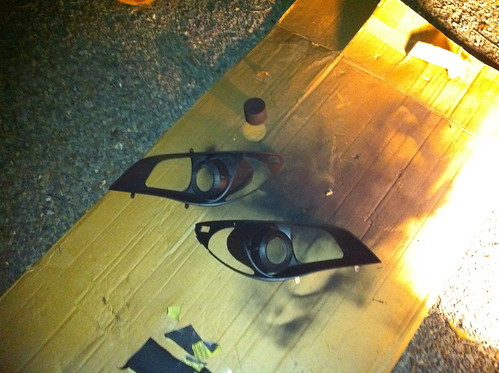
Step 14; Make sure it's dry, don't want to ruin your art work... Take off the tape where the ring is, clean the chrome ring.
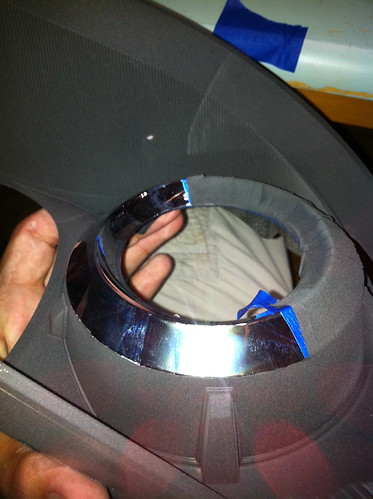
... Now it's time to redo the entire process in reverse, put them back in the oven, to melt the sealant again use all the screws to tighten the seal. Resort back to the pictures if you get lost.
Make sure the seal is warm/hot when you reseal it or else the lights will get water vapor inside them. Happened to me after it rained, I just took them out went to autozone got more sealant and did the entire process again on one headlight, it gets easier and easier the more you do it..

Step 1; Unclip on the small circular bumper clips by the kidneys

Step 2; Unbolt the screw that's connected to the headlight and the other two plastic bumper clips.

Step 3; Unclip the grille pieces, all three pieces are connected by plastic clips and slide out once the plastic pins from on top are removed (Step 1+2).

Step 4; After you have the two grille pieces off look inside and find four bolts that you'll be taking off this step.

Step 5; This is probably the hardest part, taking out the headlights... I didn't loosen up the bumper and managed to pull them out, it's personal preference. It'll definitely be easier if you do. Disconnect all the wires connecting to the headlight. Carefully pull them out

Step 6; Preheat your oven to 220 degrees.

Step 7; Take out the philips screws that connect the headlight pieces together, there's 5 of them (I think) all on the edge.

Step 8; Place the headlights in the oven, I used a sheet of tinfoil and places it on that. I always put them in for about 13 minutes, most people do 10-15 minutes, check up on it every once in a while... Also try to unclip the small clips on the edge of the headlight it'll help you out and help you realize when the rubber sealant is hot enough to be opened.

Step 9; Grab your headlight and undo the clips on the edge and pull it apart!

Step 10; Take out the philip screws, put them in the same bowl where you put the other screws for the headlights... You won't confuse them.

Step 11; Take the chrome piece that you want painted and put painters tape on the chrome ring unless you plan on painting that as well... It's also up to you what you want with the orange reflector piece, I took it out.. (Found that cutting small pieces of tape and matching it up with the ring was the easiest way.)

Step 12; Sand the headlight housing down, up to you how fine you want the sand paper to be...

Step 13; Paint! Make sure you distribute the paint evenly, hit it from different angles etc... I did a total of 3 coats and they turned out great IMO.

Step 14; Make sure it's dry, don't want to ruin your art work... Take off the tape where the ring is, clean the chrome ring.

... Now it's time to redo the entire process in reverse, put them back in the oven, to melt the sealant again use all the screws to tighten the seal. Resort back to the pictures if you get lost.

Make sure the seal is warm/hot when you reseal it or else the lights will get water vapor inside them. Happened to me after it rained, I just took them out went to autozone got more sealant and did the entire process again on one headlight, it gets easier and easier the more you do it..
Last edited:

