salsa-king
Member
I bought my Hella Tones from Subimods, along with the custom fitting bracket and wire harness that they do.
http://www.subimods.com/hella-supertone-horn-kit.html
They do a fitting PDF how to, but there's nothing better than a write up by me showing that the ordinary man in the street can do it too.
Here goes...
1: Undo the clips holding the front bumper on. 4 on the wheel arch. 4 across the front grille and 6 on the under side of the bumper.

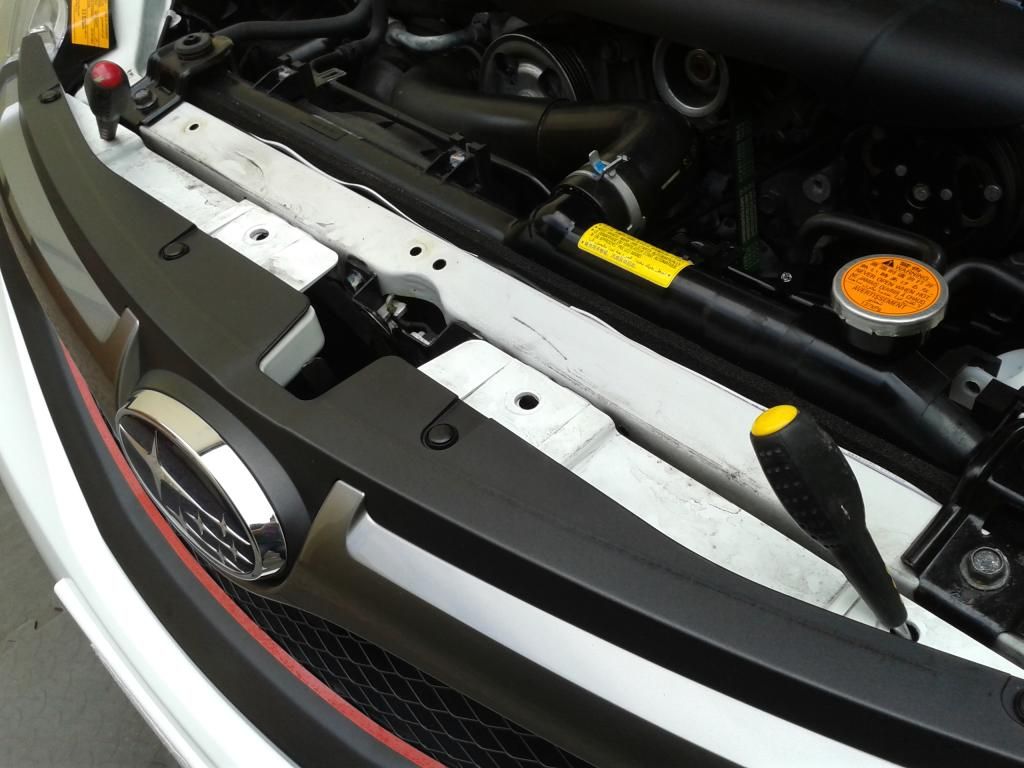
2. I put a couple of screw drivers in two of the grille holes, so when you take the bumper off it doesn't fall off in one go.
3. Ease the sides of the bumper away from the wings. Not much pressure needed, they came out dead easy.

4. Pull out with your fingers the washer jet covers and unclip the cover off the washer. Easier than you think, they pull out quite a way so you will see what needs to come off.

5. Bring the bumper away from the car and un clip any wire to the fog lights. Again, easy to do they pull off.

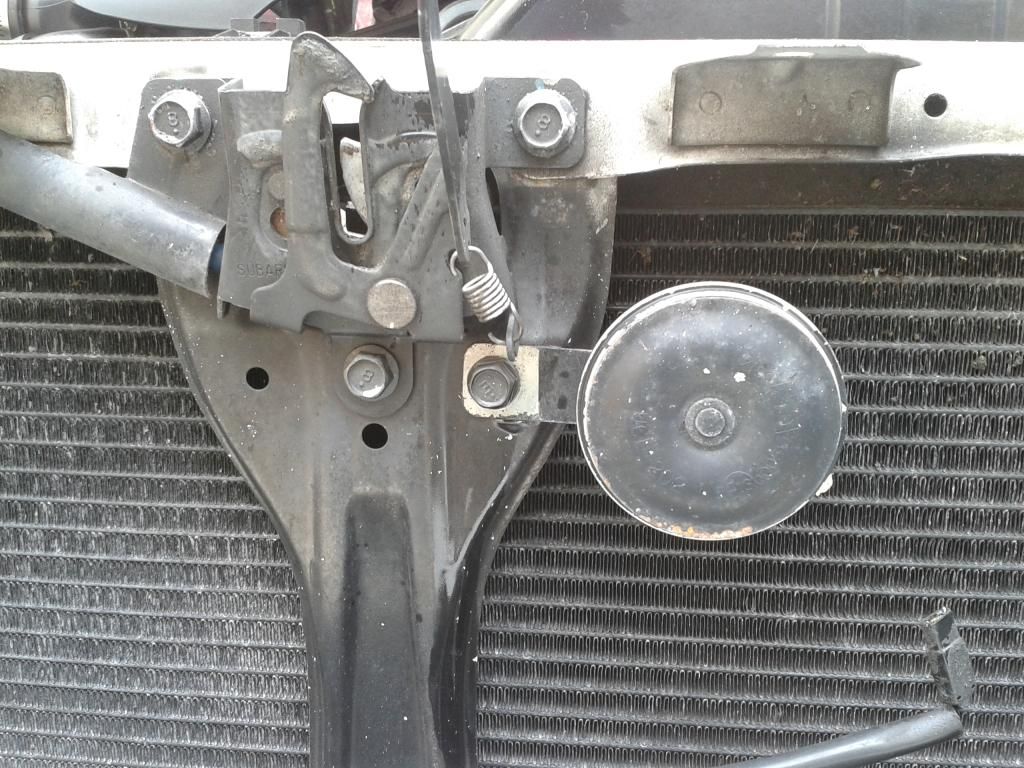
6. Locate the centre horn, use WD40 to help it come off, unclip the cable from it and remove the bolt and horn. The bolt isn't needed so don't replace it.
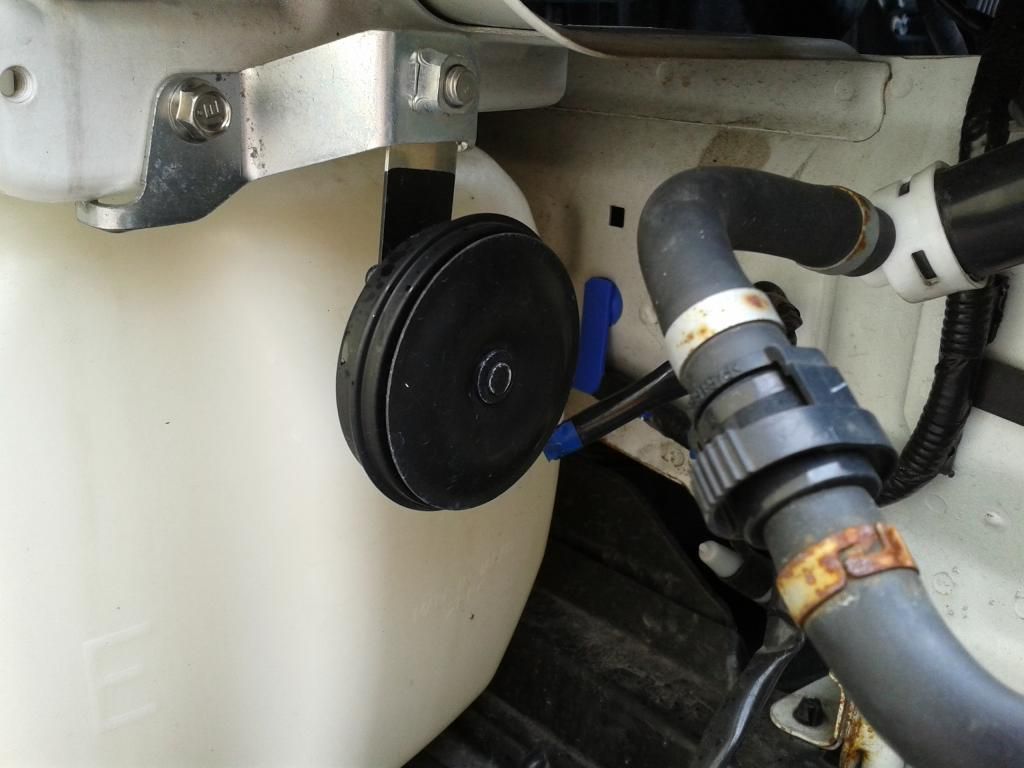
7. Look for the 2nd horn on the drivers side. Unclip the power to it (I insulating taped it up to protect from weather and taped it up out the way. Remove this horn + it's holding bracket (if you like), I did and put the bolt back in. Just in case I wanted to fit the old one back I'd know where it went.
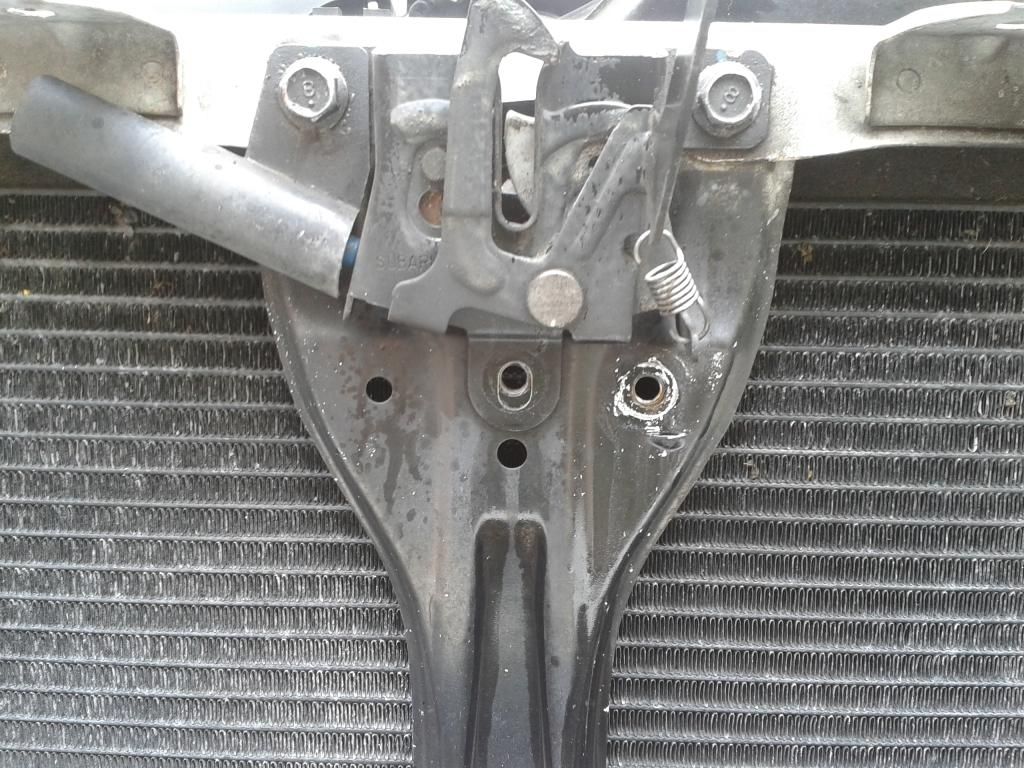
8. Once you have your Horns fitted onto your bracket (with the notch cut out on the left - as you look at it) you can fix it to the centre (remove centre bolt like in my picture) using the bolt you've taken out.
9. The relay I took all the way to the left side of the front protection bar, tie clipping it to the bar and an extra tie clip to a bracket hole you will see when you're doing it.

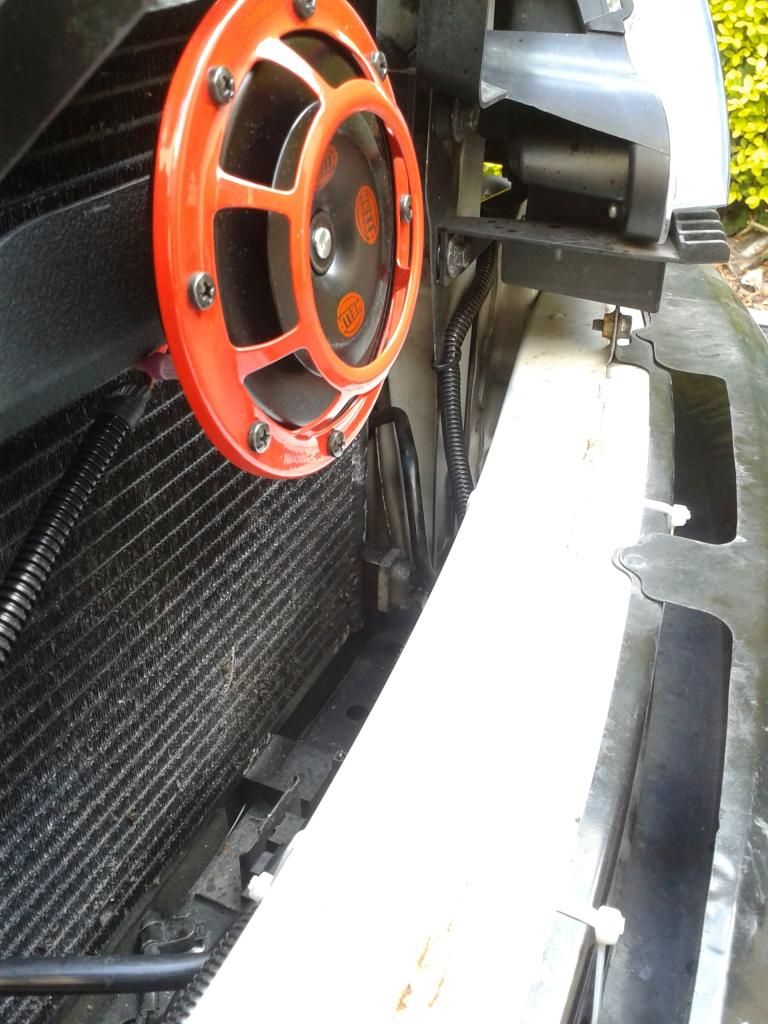
10. Once all that is in place you can feed the rest of the wiring loom along the same protect front bar (there is a slight channel you can keep the loom running in as you tie clip it securely along it. Also neatly tie clip the loom wires that come from the back of the horns down the centre, as shown below.

11. Then take the last bit of the loom that needs to go to the + & - of the battery, up behind the head light and on the inside of the wing. When you're doing it you'll see where's best for you to feed it along, connect Red to Power + and Black to negative on the battery (test of course before you fit it all neatly).
12. Tidy up any of your tie clips, check all is secure and clean all the muck off bits you don't normally get to")

13. You can see the difference the Hella's are compared to the standard horn!

14. Now all to do is re fit bumper back on.

15. Now go and test your horns on someone... they are loud!
http://www.subimods.com/hella-supertone-horn-kit.html
They do a fitting PDF how to, but there's nothing better than a write up by me showing that the ordinary man in the street can do it too.
Here goes...
1: Undo the clips holding the front bumper on. 4 on the wheel arch. 4 across the front grille and 6 on the under side of the bumper.
2. I put a couple of screw drivers in two of the grille holes, so when you take the bumper off it doesn't fall off in one go.
3. Ease the sides of the bumper away from the wings. Not much pressure needed, they came out dead easy.
4. Pull out with your fingers the washer jet covers and unclip the cover off the washer. Easier than you think, they pull out quite a way so you will see what needs to come off.
5. Bring the bumper away from the car and un clip any wire to the fog lights. Again, easy to do they pull off.
6. Locate the centre horn, use WD40 to help it come off, unclip the cable from it and remove the bolt and horn. The bolt isn't needed so don't replace it.
7. Look for the 2nd horn on the drivers side. Unclip the power to it (I insulating taped it up to protect from weather and taped it up out the way. Remove this horn + it's holding bracket (if you like), I did and put the bolt back in. Just in case I wanted to fit the old one back I'd know where it went.
8. Once you have your Horns fitted onto your bracket (with the notch cut out on the left - as you look at it) you can fix it to the centre (remove centre bolt like in my picture) using the bolt you've taken out.
9. The relay I took all the way to the left side of the front protection bar, tie clipping it to the bar and an extra tie clip to a bracket hole you will see when you're doing it.
10. Once all that is in place you can feed the rest of the wiring loom along the same protect front bar (there is a slight channel you can keep the loom running in as you tie clip it securely along it. Also neatly tie clip the loom wires that come from the back of the horns down the centre, as shown below.
11. Then take the last bit of the loom that needs to go to the + & - of the battery, up behind the head light and on the inside of the wing. When you're doing it you'll see where's best for you to feed it along, connect Red to Power + and Black to negative on the battery (test of course before you fit it all neatly).
12. Tidy up any of your tie clips, check all is secure and clean all the muck off bits you don't normally get to
13. You can see the difference the Hella's are compared to the standard horn!
14. Now all to do is re fit bumper back on.
15. Now go and test your horns on someone... they are loud!