GD Toomes DD PTE6262 07 Hawkeye. What a long, long adventure this has been.

Status
Not open for further replies.

toomes

New member
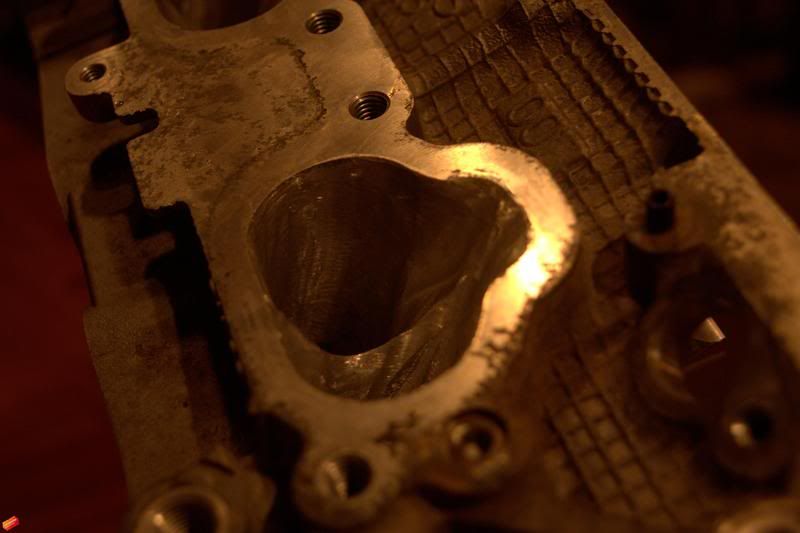
Aggressive Inlet Ports

Had a request for some aggressive porting....kind of scared at how this came out, but really proud of it at the same time. The goal was to get closer to V6 heads where the mouth of the inlet is rather wide and the wall that slices the air is razor thin, but not so thin it will crack...
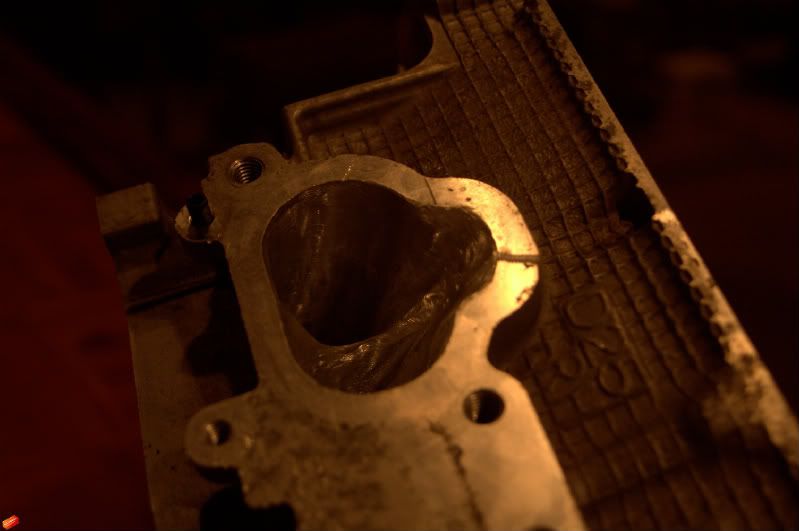
_MG_8222.jpg


_MG_8223.jpg


Things I need to work on:
  • Tape off/use old gaskets or a set of phenolic spacers as a safety to the top of the inlet ports.
  • Spend some time cleaning up the surface more with some different bits after the cutting
  • Learn what I can do better/be cautious of/beyond the basics I already know.
  • Read more on proven techniques and drill bits?

Feel free to critique, hopefully when I go back on Wednesday I can clean them up some more. The exhaust was just mildly ported and polished on these heads as it is only going to be running a Element GT52 in the end on the motor.
 
Last edited:

HolyCrapItsFast

Drinks beer!
Oh I have some experience here :D The best thing by far to clean up the surface is a dremel with small drum sanders first and then to polish and finish it off I use medium cross buffs like this...

CIMG0620.jpg

Check out the results...


CIMG0611.jpg


CIMG0612.jpg


And a little Bowl Blending...

CIMG0614.jpg
 

toomes

New member
Well, good news....found the drain on my battery - keyless entry module is the confirmed suspect. Now on to charging.
 

toomes

New member
Super fun story time!

Story:

The modifications that were made to the alternator bracket worked like a champ! Had the car up and idling for about 20 minutes and let the ECU recalibrate its settings. I was making 14.5 volts finally!! I ended up...now get this...cleaning the fuse, the post on the alternator and the end of the 12V feed. Magically it started working again?? :rofl:

As you can imagine I am happy as a pig in shit at this point. I start off down the street shift into second, yay!! shift into third....Boom. No power!! :tdown::evil::?

I am at a busy intersection and get my car off to the side of the road. It's 7:30 and its pitch black out, I have the Droid LED's craking and wouldn't you know it... I blew my main fuse this time. The alternator must have tapped the block again.

P and L...I despise your kit. I really do. I won't give up, because that is not me, but I need to verbally smash your product. I never do this, but this is the last time I will fit with your half ass product and shitty customer service when I needed it months ago. Your kit is SO CLOSE to being amazing. SO CLOSE!


Modifications:

If you buy this kit, modify the alternator bracket as I have and take off the tabs that the A/C screws into and you can change the angle of the alternator to properly fit. My next modification is to the size of the belt they send you - go buy one that is an inch to and inch and a half longer and raise your alternator up another few degrees (roughly 10-15). This will prevent your 12V post from arcing against your coolant line that runs from the water pump and/or your engine block. They also send you a screw to install at the bottom of the bracket with a spacer so that the new tensioner they have fashioned fits properly...well, buy a new one that is at least .5-1 inch longer becuase it's to weak with the few threads that grab. Lastly, you may want to swap the pulley that they send you for an idler pulley (the small long one) - as this is a second option to changing the belt size, the belt is just a cheaper solution.


Okay, I am done with my rant, I know what needs to be done. Time to get to it later on this week.
 
Last edited:
HolyCrapItsFast

Drinks beer!
Wow this has really been a trial for you! I am very happy that it is working now. I pray it stays that way and now you can finally enjoy your car. :tup:
 

toomes

New member
I used an extra kartboy exhaust hanger and put it locked down under the alternator and also changed the bottom bracket screw to an M10 75 and the extra half and inch made the bite PERFECT. no longer wiggling loose.

198966_10150108235183557_632058556_6474669_3960868_n.jpg
 

toomes

New member
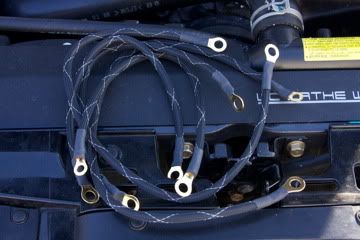
Flex Innovations Grounding Kit

Here is the Flex Innovations grounding kit I installed yesterday also:

First Impressions:
The quality of the wire sleeving and heat wrap was excellent. The kit was nice and basic which is what I was looking for, all of the ground wires were the perfect length for my application. Install took literally 15 minutes and that is with taking pictures!:rofl:


The kit itself
_MG_8250.jpg


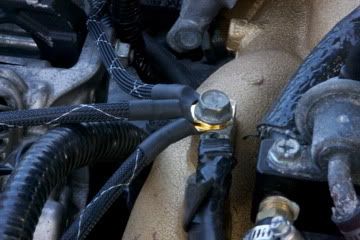
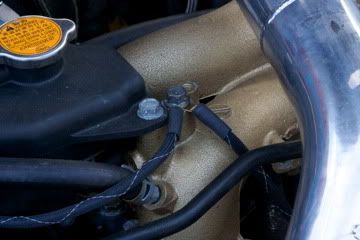
Intake manifold ground cluster
_MG_8253.jpg


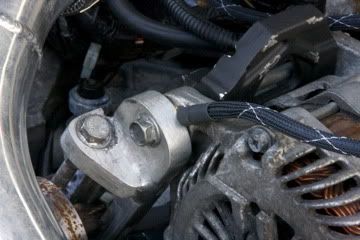
Alternator ground
_MG_8254.jpg


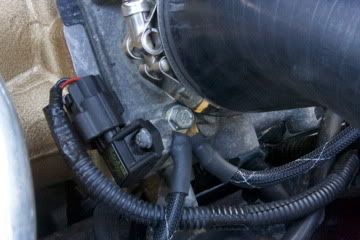
Throttle body ground
_MG_8255.jpg


Passenger side intake manifold ground
_MG_8256.jpg


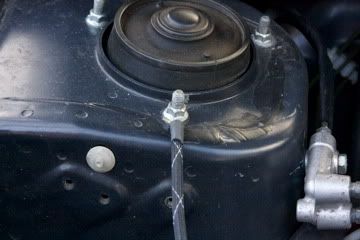
Strut tower ground, they suggest using the ABS, I prefer the tower for now
_MG_8257.jpg


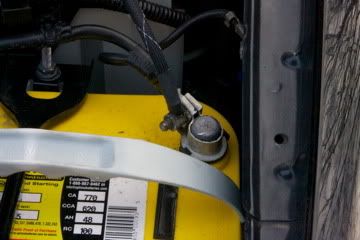
Ground...ground
_MG_8258.jpg


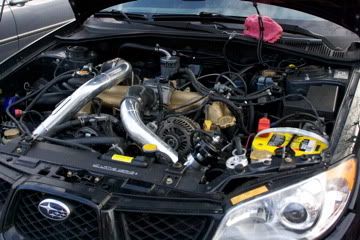
Engine bay, after install.

_MG_8259.jpg


Overall Impressions:
Happy with the outcome of the install, the looks and the fact that my injectors are happier now. I would highly recommend this kit as it was only about ~$35, check them out at http://www.flex-innovations.com/WRX.htm
 

toomes

New member
Doing a lot of reading and I am getting worried about my stock radiator, so I will be looking for most likely a Koyo radiator for myself and my buddy Matt. Even though I have the 160* thermostat, the winter is over now and it is time to protect my investment properly with a radiator that can flow up to my needs.
 

toomes

New member
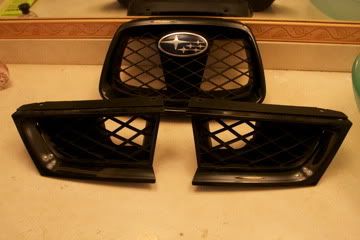
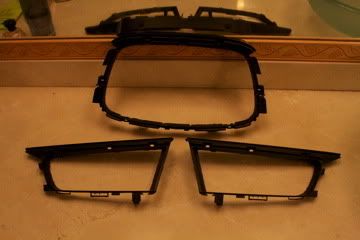
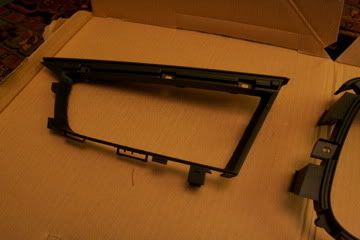
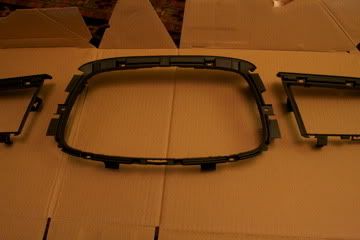
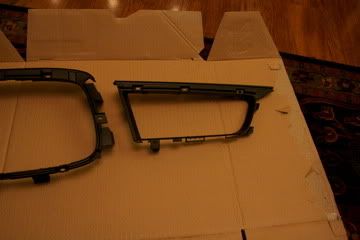
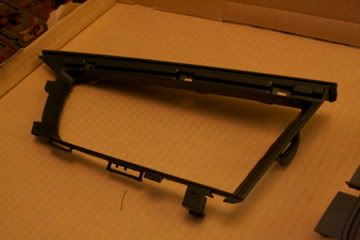
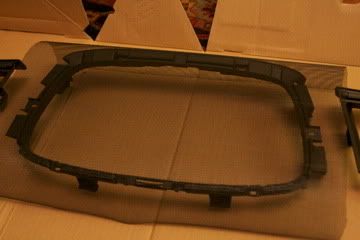
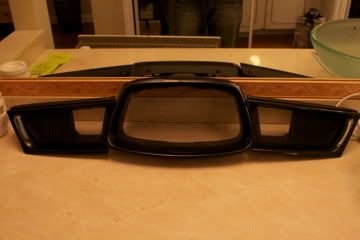
New Grillz

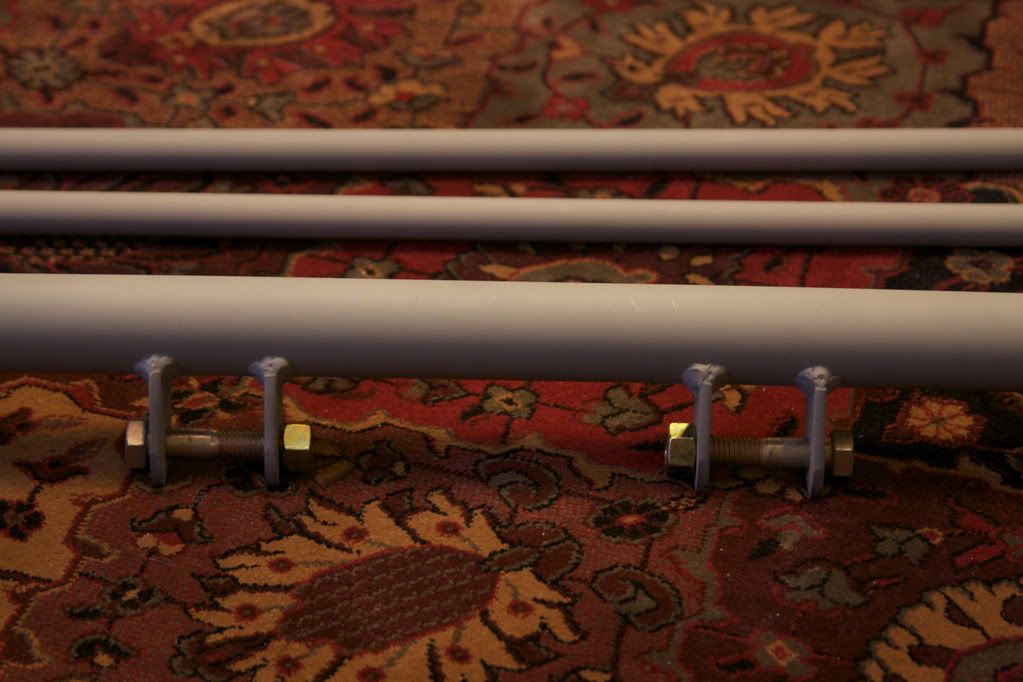
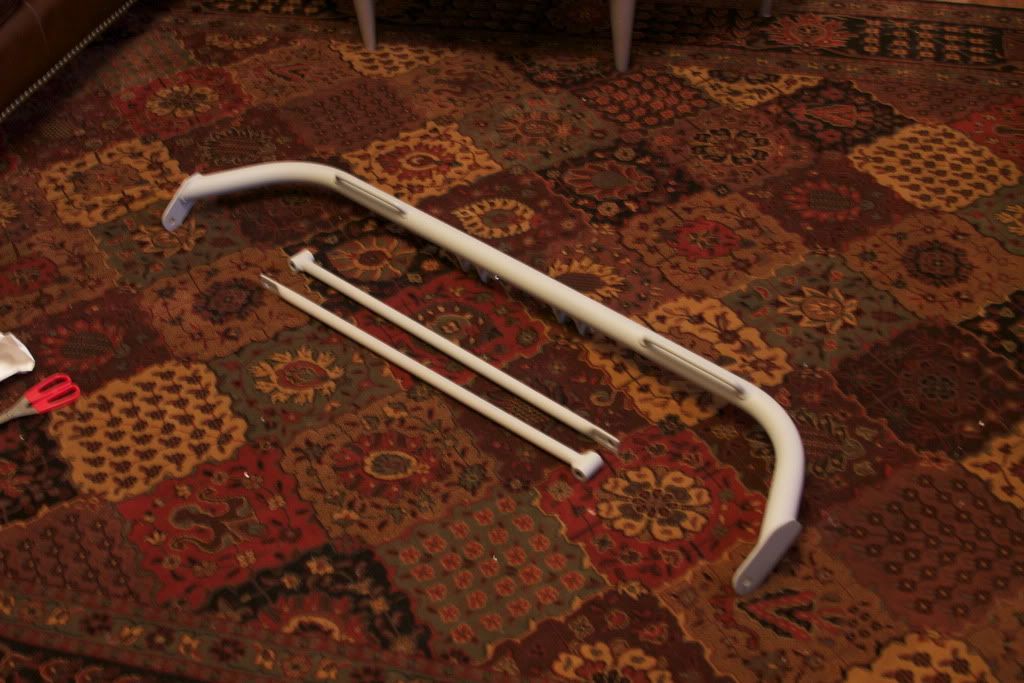
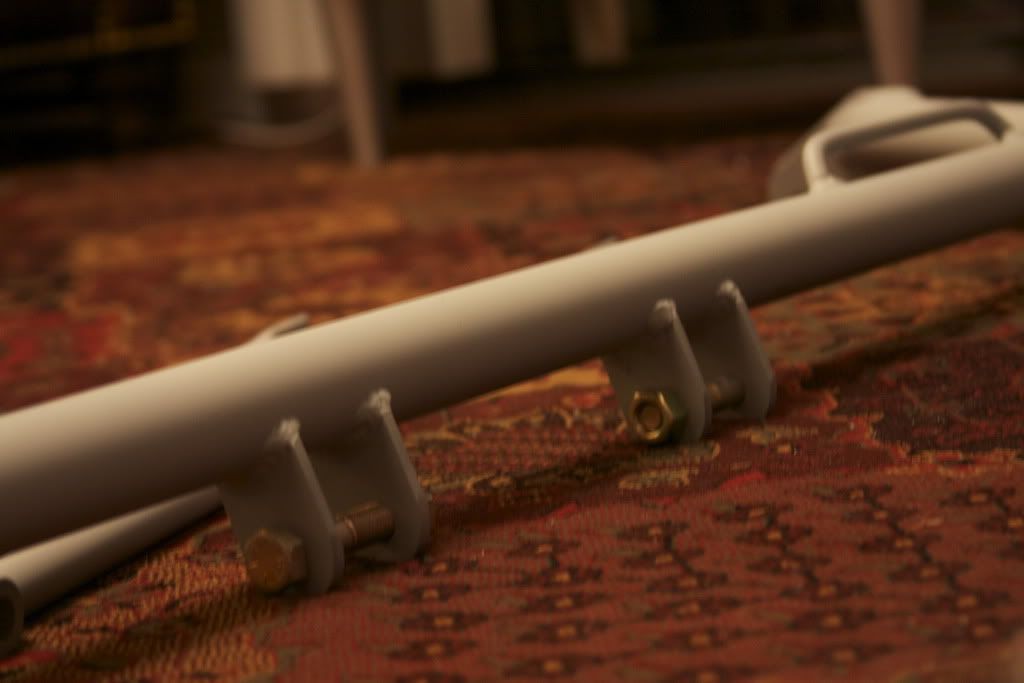
Let us see how well these hold up. This was my alternative to the grill craft kit and only cost $9..lol

_MG_8260.jpg


Stripped, cut, sanded,
_MG_8261.jpg


Primed and painted.
_MG_8262.jpg


_MG_8263.jpg


_MG_8264.jpg


_MG_8266.jpg


Mock up
_MG_8268.jpg


Final product.
_MG_8269.jpg
 

HolyCrapItsFast

Drinks beer!
This is interesting. I would like to see how it look two months from now though. Mine is the regular grill mesh and it's beat up pretty bad.
 

joey.lisano

New member
Happy with the outcome of the install, the looks and the fact that my injectors are happier now. I would highly recommend this kit as it was only about ~$35, check them out at http://www.flex-innovations.com/WRX.htm
Interesting, I've seen enough people saying the same things over and over about how a grounding kit makes the car smoother... I checked them out and decided that's the highest quality and cheapest grounding kit I've ever seen. I just ordered mine. :tup:
 

toomes

New member
Interesting, I've seen enough people saying the same things over and over about how a grounding kit makes the car smoother... I checked them out and decided that's the highest quality and cheapest grounding kit I've ever seen. I just ordered mine. :tup:

:tup::tup::tup::tup::tup:
 

IGOTASTi

System Operator
Staff member
Wow I hope you know what to do with that, lol.
 

IGOTASTi

System Operator
Staff member
Hey retard it's :tard: LOL! Ride that pole baby! LOL
 
Status
Not open for further replies.
Top